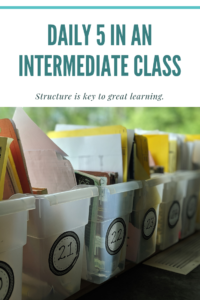
https://itxasofisio.com/conoceme/ 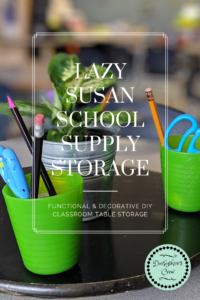 Many years ago I wanted to make the switch to tables from desks. I hated everything about desks. Mostly the mess that lives inside of them along with spending precious time each week or two weeks doing a desk clean up. I wanted clean and easy. Tables were my answer. But where to put the students’ supplies? That’s when I came up with the Lazy Susan Solution.
Who could use this?
https://www.communityvillageus.us/immigration-facts/ First off, these work fantastic in my classroom. They are perfect for classrooms that use tables instead of desks. Last year, I didn’t have the option of tables in my classroom and had to use desks. I tried to encourage my students to put their supplies in the lazy susan instead of in their desks (I wasn’t able to turn the desks around as the front edge had a slight curve). Try as I might, it just didn’t work. Kids will hoard their own stuff if they are given an option.
http://www.jamisonroadfire.com/volunteer/They are also fantastic whether or not you have shared supplies in your room. I have done it in both of these situations. If students have their own supplies, then it usually works out that one student each gets a cup to put their supplies in. With shared supplies, each cup could be for a type of supply. One for pencils, one for erasers, one for pens, etc. depending on what you use regularly in the classroom.
Buy Clonazepam Online Overnight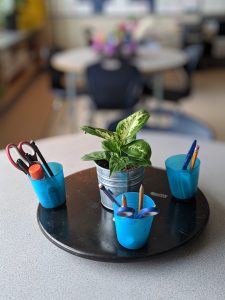 Will the kids spin it?
https://www.bohemiamedia.co.uk/privacy-policy/ Keep this in mind. The first couple weeks with new students or when you are introducing your class to the lazy susan… they WILL SPIN IT! A LOT!!! Sorry, but they need to get it out of their system. Just remind them that they aren’t for spinning and this will stop once the novelty is gone. I never see kids spinning them like crazy come October.
Purchase Valium OnlineHow to make this Lazy Susan Classroom Storage:
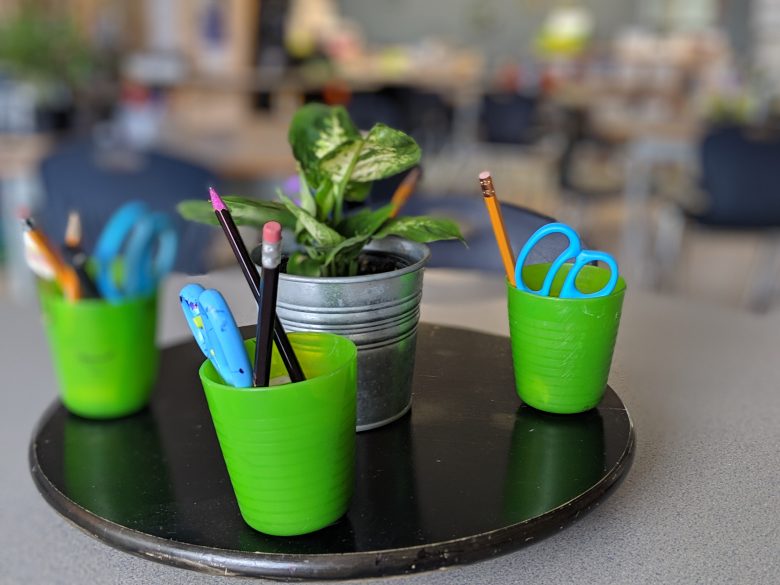
These were made from Ikea Elritsa Lazy Susans. Originally I didn’t paint them, and depending on the look you want for your classroom, they definitely do not need to be painted.
https://marioschumacher.com/diegopons-videoblogger-viajandocondiego/ I then bought the Kalas Tumblers which come in a set of 6 for only $1.99.With a bit of sticky velcro, I attached 4 of these cups to the lazy susans. I used velcro as it allowed me to take the cups off so they could be cleaned. Make sure when using the velcro, to get some that is wide enough so you can stick it to the whole bottom of the cup you choose. This way it doesn’t tip over easily.
The last component is a pot. It is my favourite part of the whole thing. I add an indoor plant to the pot and the lazy susan is complete. It adds some colour, some fresh oxygen and gives each table group a bit of responsibility. They need to keep their plant alive!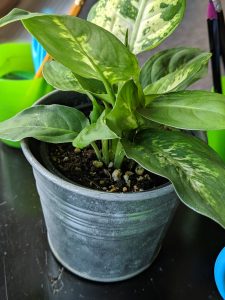
Where we keep our other supplies:
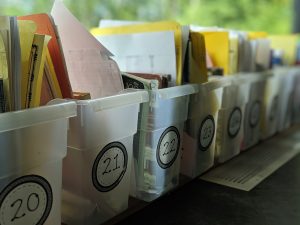
Again this depends on the types of supplies you do in your classroom. When students have their own supplies, I ask students to put their pencil boxes with their felts, pencil crayons, scissors, etc. into a shared bin that belongs to their tables. This is great when we are doing something that requires a pencil box. One student can grab the bin for their table group and it eliminates a lot of traffic to one area.
I hope this guide helps inspire you with your own DIY project for your classroom!
Buy Ambien Online Overnight ♥ Cassandra
Buy Tramadol Without PrescriptionPS. Here are my favourite classroom routines! Check them out!
https://medmanor.in/infrastructure/